This post contains affiliate links. If you click and purchase, I may earn a small commission at no extra cost to you. Thank you for your support!
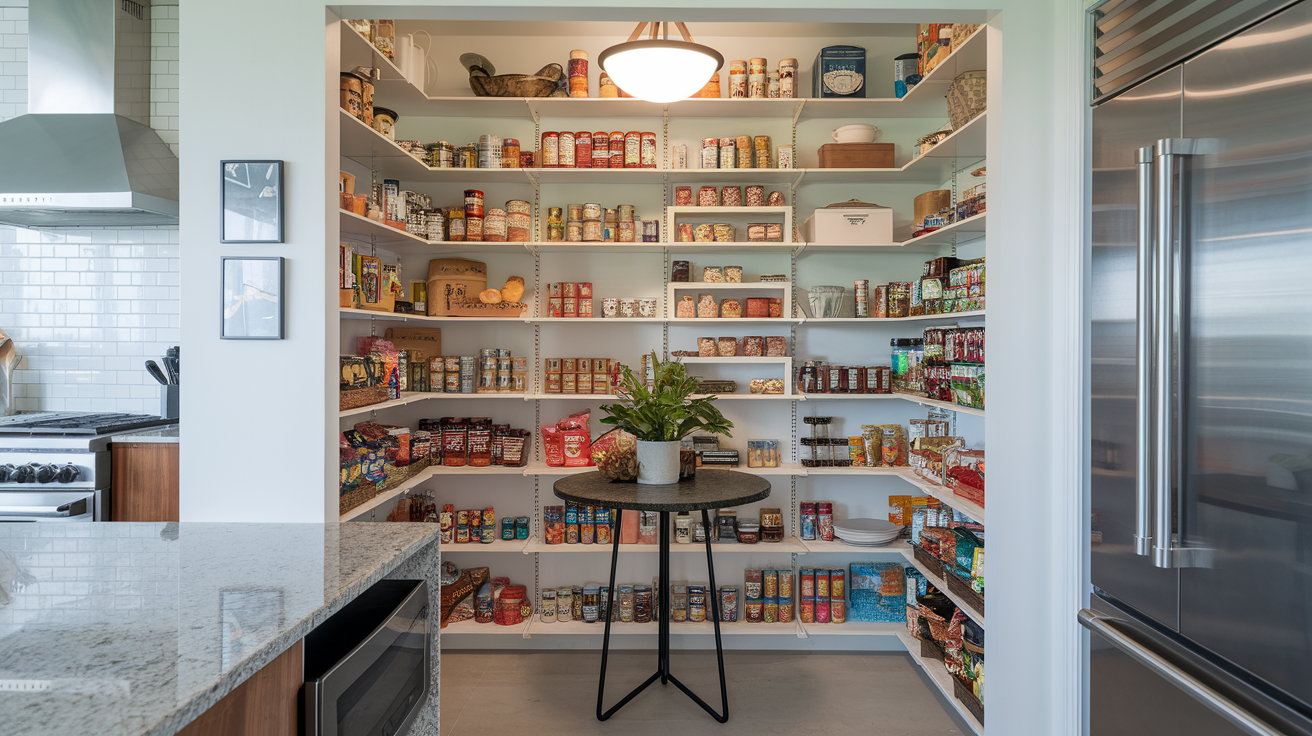
A well-organized pantry is the secret weapon of an efficient organized kitchen. It’s not just about having a Pinterest-worthy space (though that’s a nice bonus!). A properly organized pantry can save you time, reduce food waste, and make meal planning a breeze. Whether you have a walk-in pantry or just a few shelves, this guide will help you transform your pantry into a model of organization and efficiency.
The Benefits of an Organized Pantry
Before we dive into the how-to, let’s consider why pantry organization is so crucial:
- Time-saving: You can quickly find what you need when cooking.
- Money-saving: You’re less likely to buy duplicates or let food expire.
- Stress-reducing: A tidy pantry contributes to a sense of overall kitchen calm.
- Meal planning made easier: When you can see what you have, planning becomes simpler.
The Pantry Organization Process
Step 1: Empty and Clean
Start with a clean slate:
- Remove everything from your pantry
- Clean all shelves and floors thoroughly
- This is a good time to add shelf liners if desired
Step 2: Sort and Declutter
As you empty your pantry, sort items into categories:
- Still good and frequently used
- Still good but rarely used
- Expired or no longer wanted
Be ruthless in your decluttering. Check expiration dates and dispose of anything that’s past its prime.
You Might Also Like:
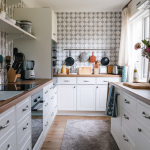
- Kitchen Organization
- Kitchen Organization Tips
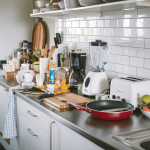
- Streamlining Kitchen Counter Clutter
- Organizing Kitchen Appliances and Gadgets
- Maintaining an Organized Kitchen
Step 3: Plan Your Pantry Layout
Before restocking, plan your pantry organization:
- Assign zones based on food types or meal categories
- Keep frequently used items at eye level
- Store heavier items on lower shelves
- Consider your family’s needs and habits
Step 4: Invest in Storage Solutions
The right storage can make a world of difference:
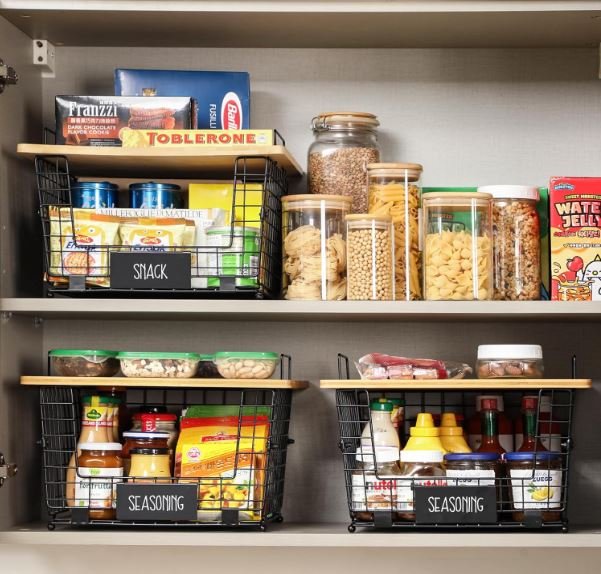
- Clear containers: Great for seeing what you have at a glance
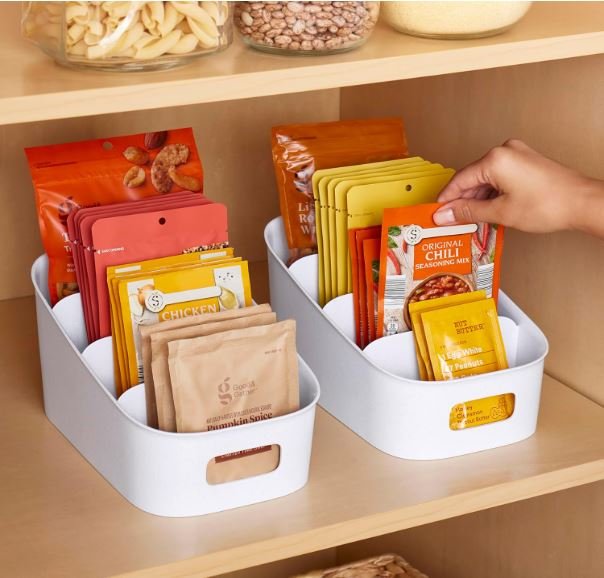
- Baskets or bins: Ideal for corralling small items
- Lazy Susans: Perfect for making items in deep corners accessible
- Tiered shelves: Excellent for maximizing vertical space
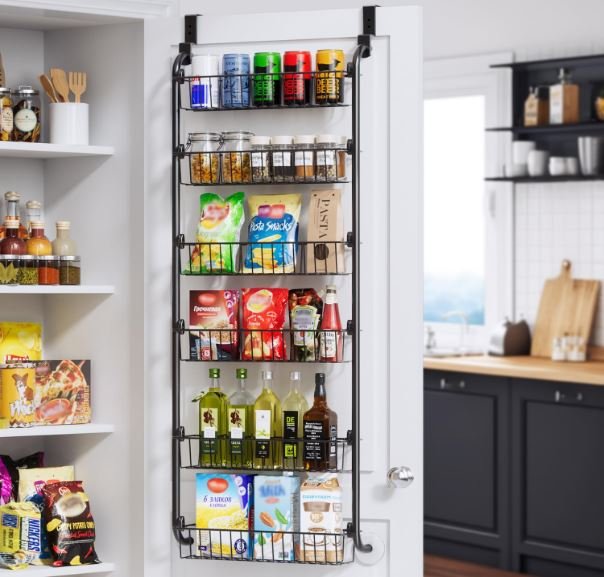
- Door racks: Utilize often-forgotten space
Step 5: Label Everything
Labels are key to maintaining order:
- Label containers, especially if you transfer items from original packaging
- Consider using a label maker for a uniform look
- Don’t forget to include expiration dates on labels
Pro Tips for Pantry Organization
- Use the “first in, first out” method: Place newer items behind older ones to ensure you use things before they expire.
- Group like items: Keep all baking supplies together, all breakfast items together, etc.
- Decant dry goods: Transfer items like flour, sugar, and cereals into airtight containers. This keeps food fresh and makes it easy to see when you’re running low.
- Utilize vertical space: Use stackable containers or add extra shelves to make the most of vertical space.
- Create a snack station: Designate a specific area for snacks to make them easy to grab (and to control portions).
Creative Pantry Organization Ideas
- Repurpose office supplies: Use magazine holders to store packets and pouches, or a file organizer for cutting boards and baking sheets.
- Use tension rods: Create adjustable dividers for storing baking sheets and cutting boards vertically.
- Hang clipboards: Use these to hold meal plans or grocery lists.
- Install a pegboard: This versatile solution can hold small items, utensils, or even lightweight pots and pans.
Maintaining Your Organized Pantry
Keeping your pantry organized is an ongoing process:
- Do a quick tidy-up weekly, returning items to their proper places
- Conduct a deeper clean and reorganization quarterly
- Always put new items away in their designated spots
- Regularly check for expired items and discard them
Organizing Specific Pantry Areas
The Spice Section
- Use a tiered shelf or lazy Susan for easy access
- Arrange alphabetically or by frequency of use
- Consider magnetic spice jars on the side of your fridge to free up pantry space
Baking Supplies
- Store flour, sugar, etc. in airtight containers
- Keep measuring cups and spoons nearby
- Use a lazy Susan for smaller items like food coloring or extracts
Canned Goods
- Use tiered shelves or risers so you can see all cans
- Organize by type (vegetables, fruits, soups, etc.)
- Consider a can dispenser for high-use items
Pantry Organization for Small Spaces
Don’t have a large pantry? No problem! Here are some tips for small spaces:
- Use the back of the door with an over-door organizer
- Invest in stackable, uniform containers to maximize space
- Consider pulling rarely-used appliances out of cabinets to make room for pantry items
- Use under-shelf baskets to double your shelf space
Conclusion
Mastering pantry organization is truly an art form. It requires some initial effort, but the payoff in time saved and stress reduced is immeasurable. Remember, the goal isn’t to create a photo-perfect pantry (though if you do, feel free to show it off!). The real aim is to create a functional space that makes your life easier and your time in the kitchen more enjoyable.
So roll up your sleeves, pull everything out of that pantry, and start organizing! Your future self will thank you every time you easily find exactly what you need in your beautifully organized pantry.